
SESSION FLOW
Rolfing — Session Flow
See how the ten sessions progress through three phases, what happens in each visit, and what our session rooms are like.
OVERVIEW
Ten Sessions in Three Phases
Like peeling an onion layer by layer, Rolfing moves from superficial to deeper structures and then integrates the connections throughout the whole body.
SESSIONS 01–03Sleeve
Sleeve
We work with breathing, the feet, and the sides of the body to establish a foundation for freer movement.
SESSIONS 04–07Core
Core
From the pelvic floor to the head, we develop inner support and a clearer central axis.
SESSIONS 08–10Integration
Integration
We improve coordination between the upper and lower body and integrate change into whole-body movement.
Session Interval
Sessions are generally scheduled every one to two weeks, giving your body time to absorb each change before moving to the next theme.
10 SESSIONS
Themes of the Ten Sessions
Each theme builds on the last, organizing relationships across the whole body rather than treating isolated parts.
01–03
PHASE 1 · SLEEVE
Opening the Sleeve
Breath, feet, and the sides of the body create space and a foundation for freer movement.
SESSION 01
SLEEVE
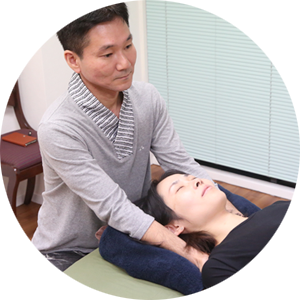
Freeing the Breath
We work around the ribs, shoulder girdle, and pelvic girdle to release tension and support natural, easy breathing.
SESSION 02
SLEEVE
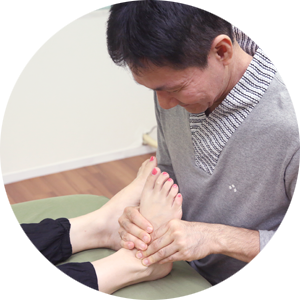
Building Support through the Feet
We release tension in the ankles, toes, knees, lower legs, and thighs, balancing left and right as well as inner and outer lines to create stable support.
SESSION 03
SLEEVE
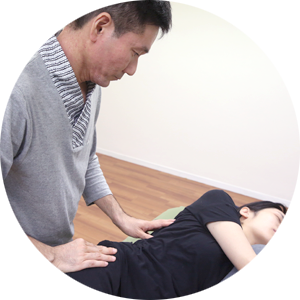
Creating Space in the Upper Body
Working with the shoulder girdle through the sides of the torso helps create front-to-back depth and width, connecting Sessions 1 and 2 and preparing for the core phase.
04–07
PHASE 2 · CORE
Developing the Core Axis
We develop deep support and vertical connection from the pelvic floor to the head.
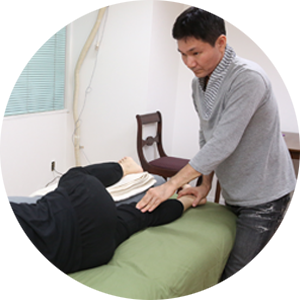
SESSION 04
CORE
Balancing the Pelvic Floor
We work with the inner lower legs, adductors, and their relationship to the pelvic floor, allowing the legs to move more freely from the pelvis.
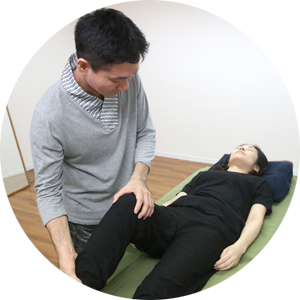
SESSION 05
CORE
Creating Space through the Abdomen
We address tension in the iliopsoas, which lies in front of the spine and connects upper and lower body, clarifying the connection from the legs to the diaphragm.
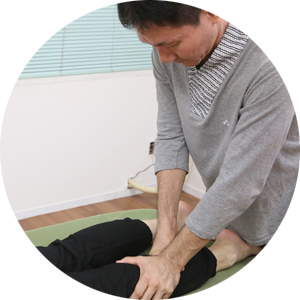
SESSION 06
CORE
Supporting an Effortless Back
Working with muscles related to the lumbar spine and sacrum helps balance the pelvis and support an upright back without strain.
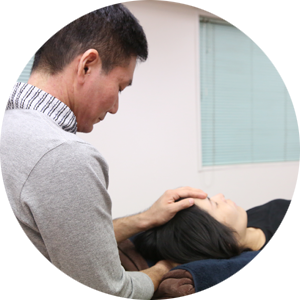
SESSION 07
CORE
Freeing the Head and Neck
Building on Sessions 4–6, we release the neck and head so the head can rise naturally and the central axis can organize more clearly.
08–10
PHASE 3 · INTEGRATION
Integrating the Whole Body
We connect the changes from earlier sessions and bring coordinated whole-body movement into daily life.
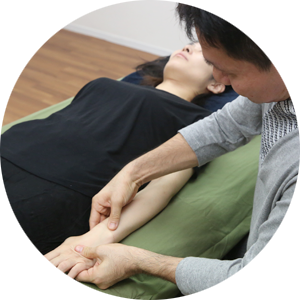
SESSION 08
INTEGRATION
Connecting Upper and Lower Body
We work with the shoulder and pelvic girdles so the upper and lower body can move in coordination.
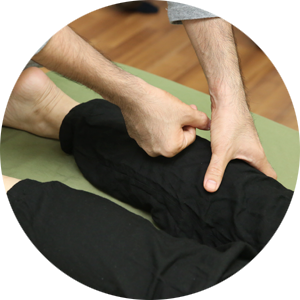
SESSION 09
INTEGRATION
Deepening Whole-Body Coordination
We deepen the relationship between the shoulder and pelvic girdles, supporting smoother coordination throughout the body.
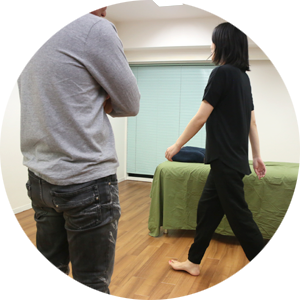
SESSION 10
INTEGRATION
Completing Whole-Body Integration
We integrate the sensations and learning from all ten sessions and let whole-body connection settle into everyday movement.
SESSION FLOW
What Happens in One Session
Every session begins with a consultation. Session clothing is available to borrow at no charge.
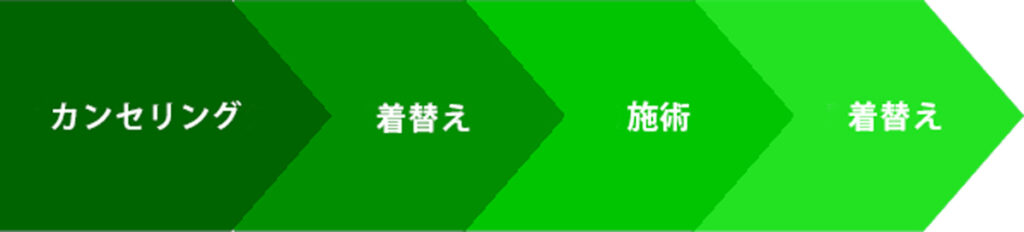
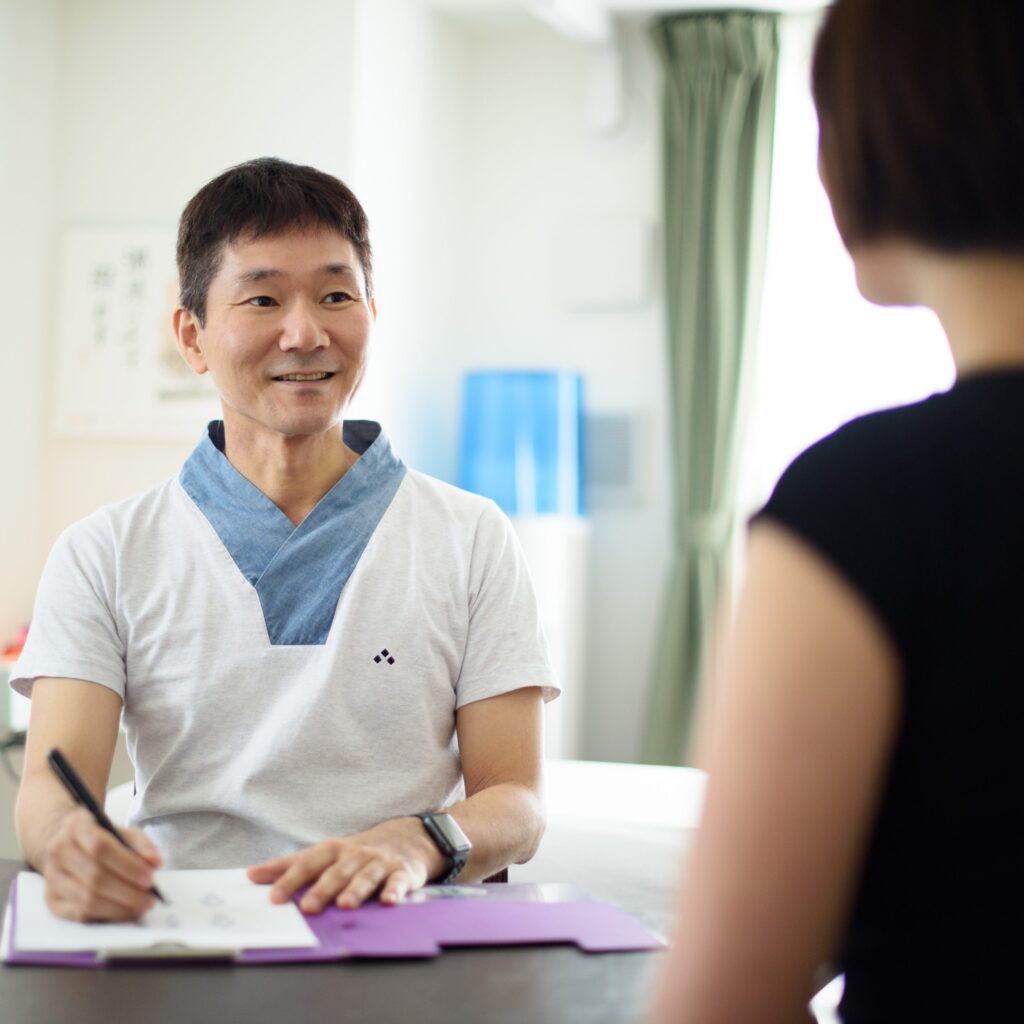
STEP 01
Consultation
After entering the session room, we begin with a consultation. This takes about 10–30 minutes for the first visit and 5–10 minutes thereafter; more time may be allowed when useful.
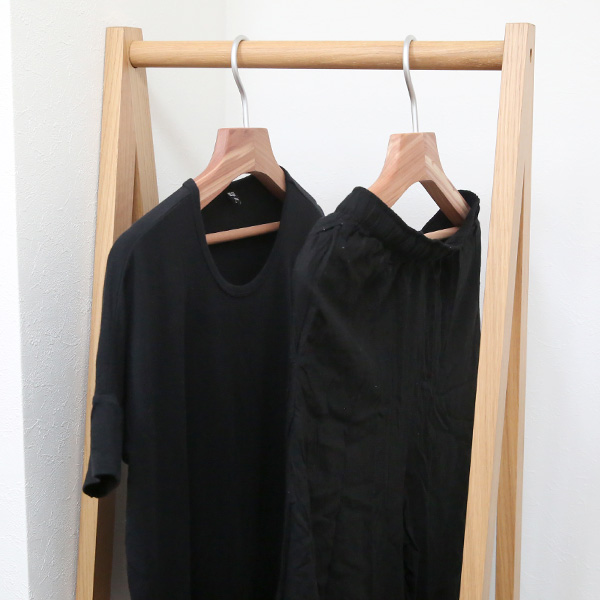
STEP 02
Changing
Change into comfortable, non-restrictive clothing such as a T-shirt and shorts. Complimentary session clothing is available if needed.
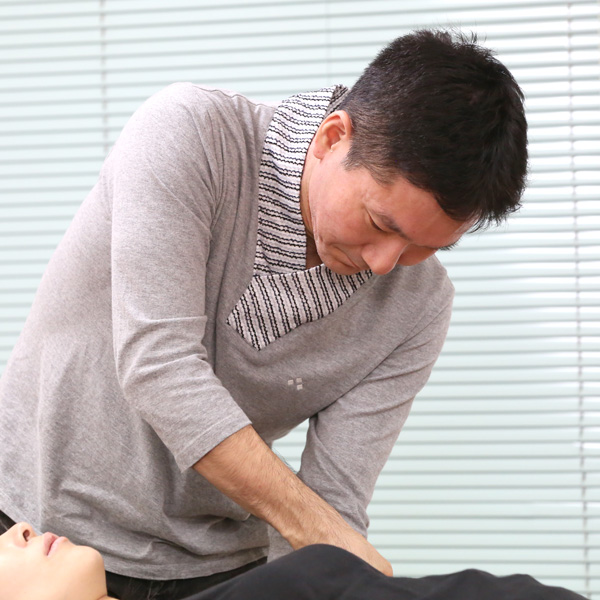
STEP 03
Movement Assessment and Hands-on Work
After observing standing, walking, and simple movements, we continue with hands-on work on the table. Positions are adapted to the session theme and your condition.
SESSION ROOM
Session Rooms
Our calm space in Shibuya, Tokyo, gives you time to attend to changes in your body.
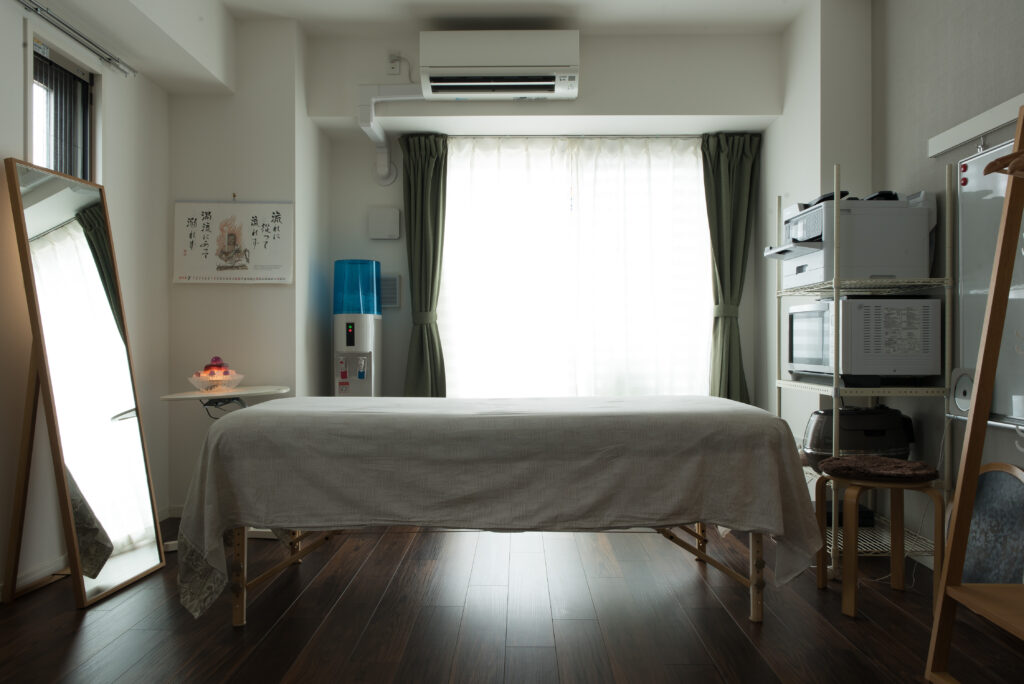
Session Room 1
Equipped with a treatment table, mirror, and water dispenser.
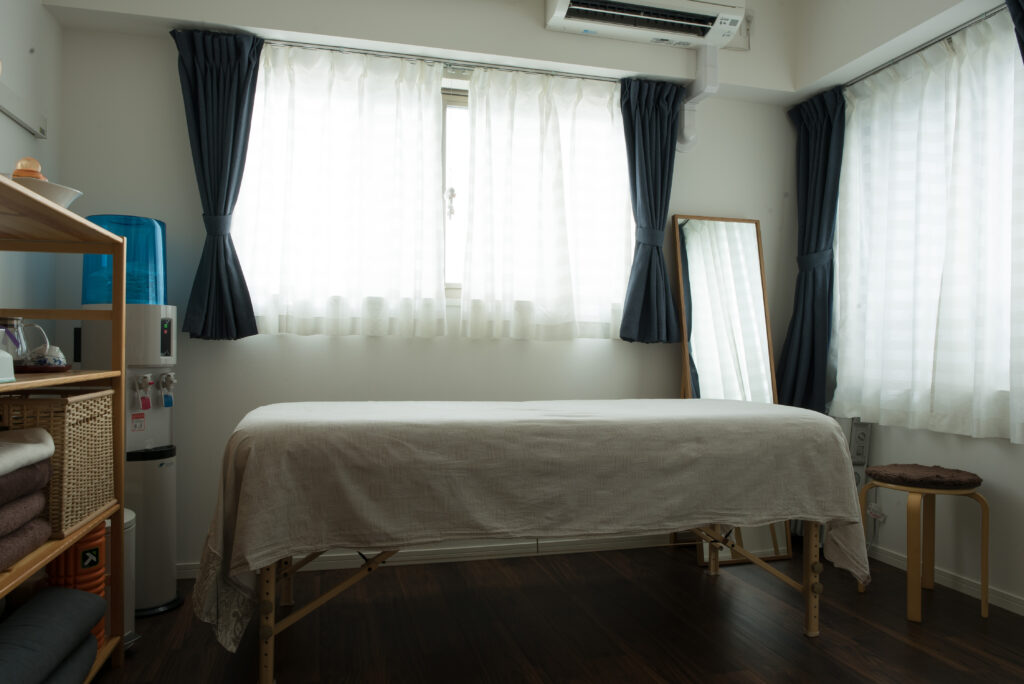
Session Room 2
A quiet room where you can focus on changes in your body.
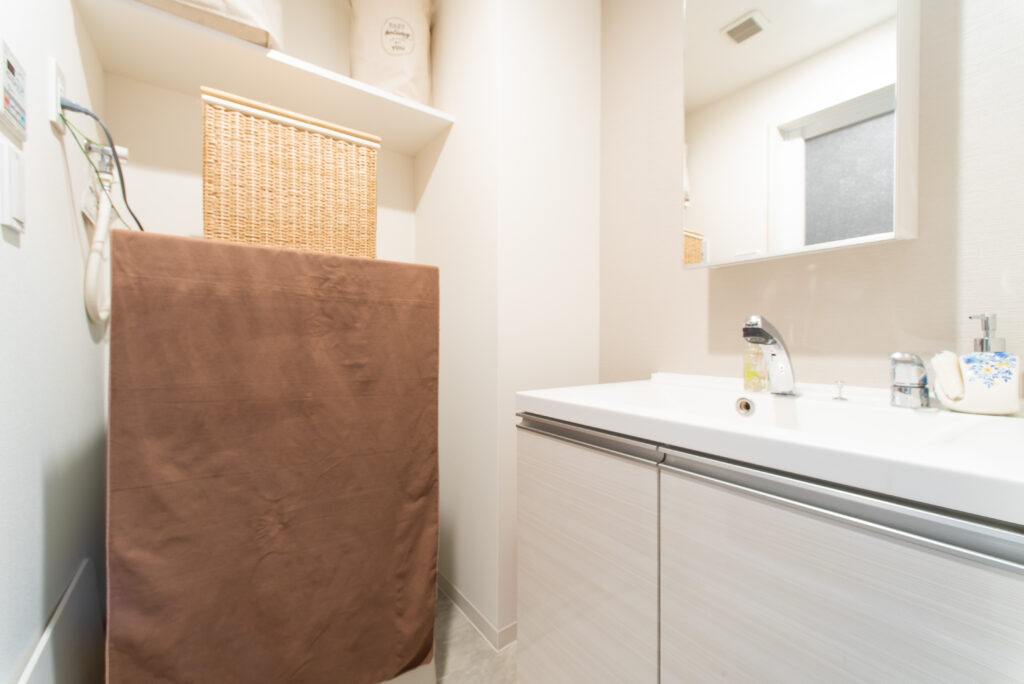
Changing Area
A private changing area is available before and after sessions.
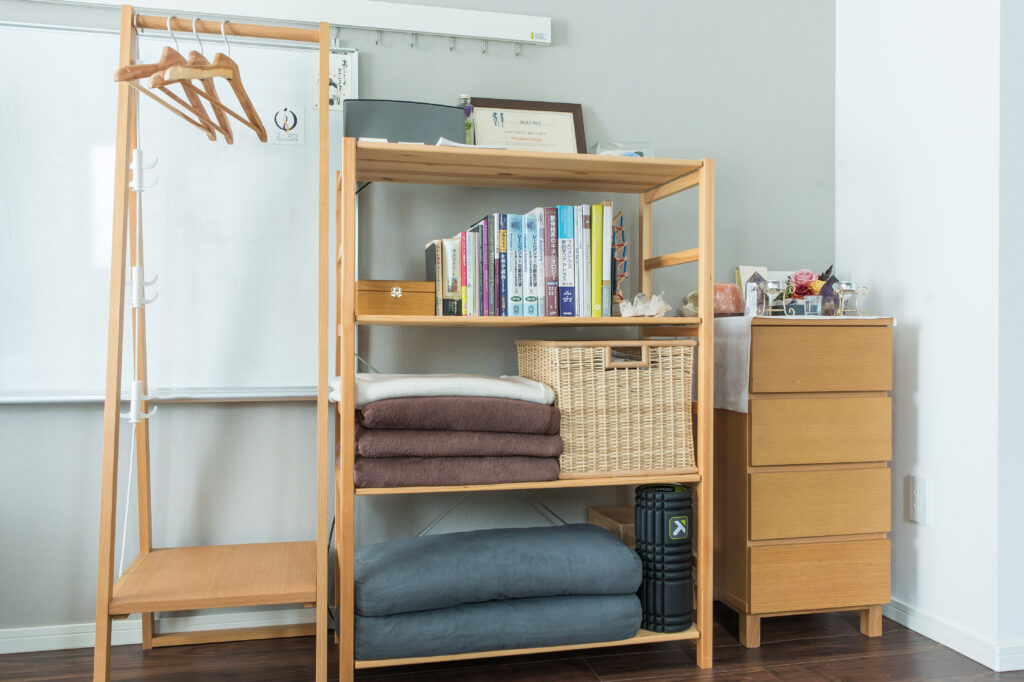
Session Props
Blankets, bolsters, and blocks are available.
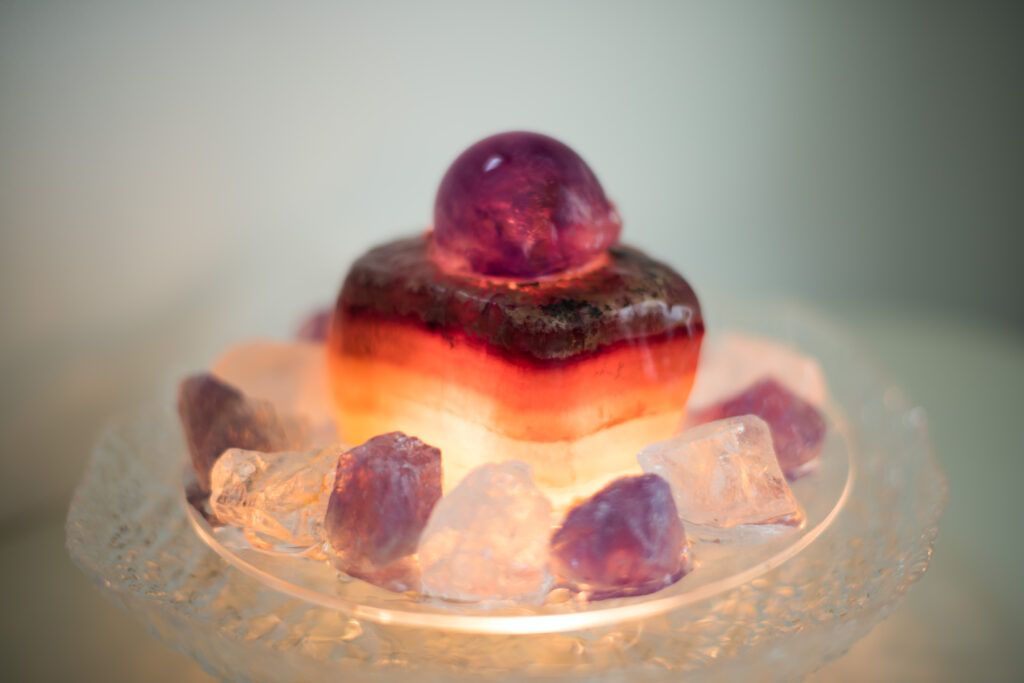
Crystal Fountain
Both rooms have a crystal fountain.
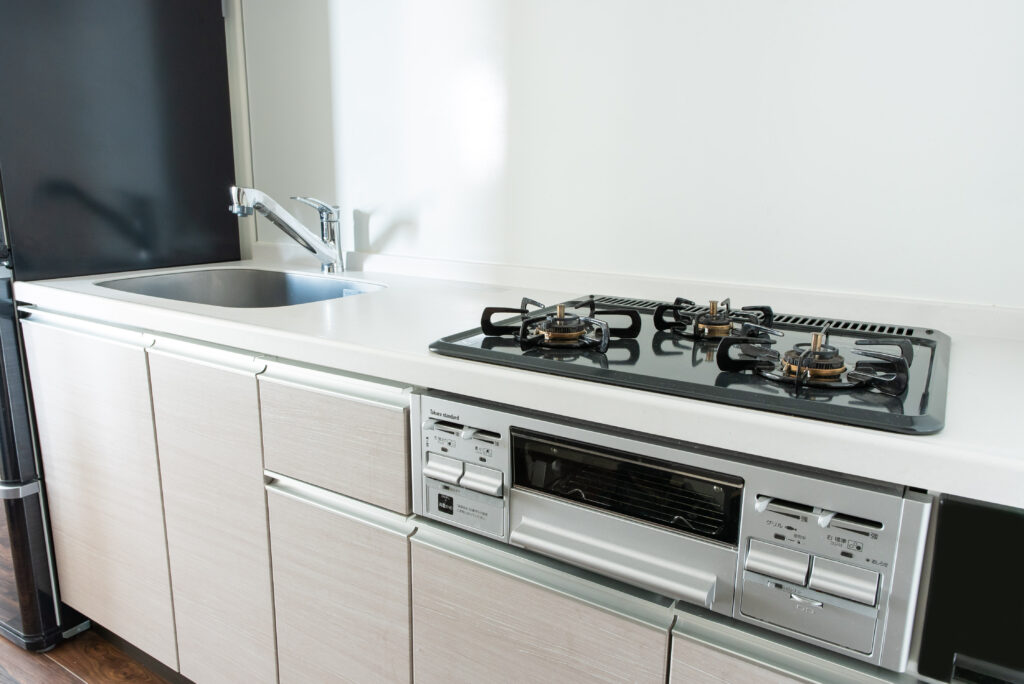
Room Rental
The session rooms and kitchen are also available for rental. Contact us for details.
INFORMATION
Rolfing Information
10 SERIES¥18,000(tax included) / session
TRIAL SESSION¥10,000(tax included) / session
- Sessions are by appointment only.
- If you are unsure about beginning the Ten Series, you are welcome to start with a trial session.